
This article delves into the enchanting realm of DIY friendship bracelets, providing you with step-by-step instructions, helpful tips, and innovative ideas to craft beautiful and meaningful accessories for your friends. Whether you’re a beginner or an experienced crafter, this guide will inspire you to create unique pieces that symbolize your cherished friendships.
What Materials Do You Need for Friendship Bracelets?
To embark on your bracelet-making journey, gather the following materials:
- Embroidery floss
- Scissors
- Tape
- Clipboard (optional, but helpful for securing your work)
How to Choose Colors for Your Bracelet
Choosing the right colors is crucial in the bracelet-making process. Think about your friend’s favorite colors or the emotions you want to convey. Here are some color meanings to consider:
- Blue: Trust and loyalty
- Red: Love and passion
- Green: Growth and harmony
Using Patterns and Designs
Patterns can enhance the visual appeal of your bracelet. Simple designs like stripes or more complex patterns like chevrons can make your bracelet stand out. Experiment with various styles to find what resonates with you.
Basic Knotting Techniques
Understanding basic knotting techniques, such as the forward knot and the backward knot, is essential. These knots form the foundation of your bracelet and ensure durability.
Step-by-Step Guide to Making a Simple Bracelet
1. Measure and cut your threads to about four times the length of the desired bracelet.2. Tie the threads together to create a secure base.3. Begin knotting using your chosen pattern.4. Continue until you reach the desired length.5. Tie off the end and trim excess threads.
Advanced Techniques for Experienced Crafters
For those looking to challenge themselves, consider learning advanced techniques like the chevron pattern or incorporating beads and charms for added flair.
Tips for Gift-Wrapping Your Bracelets
Once your bracelet is complete, thoughtful gift-wrapping can enhance its presentation. Use simple boxes or decorative bags, and consider adding a personal note to express your feelings.
Conclusion: The Joy of Making Friendship Bracelets
Creating friendship bracelets is not just a fun craft; it’s a way to strengthen bonds and express affection. These handmade gifts are cherished keepsakes that symbolize the special connections we share with our friends.
What Materials Do You Need for Friendship Bracelets?
When embarking on the creative journey of making friendship bracelets, gathering the right materials is a crucial first step. The joy of crafting these beautiful accessories lies not only in the process but also in the materials you choose. Here’s a detailed look at what you’ll need to get started.
- Embroidery Floss: This is the primary material used for making friendship bracelets. It comes in a wide variety of colors, allowing you to create vibrant patterns that reflect your personal style and the preferences of your friends.
- Scissors: A sharp pair of scissors is essential for cutting the embroidery floss to the desired lengths. Make sure they are well-maintained to ensure clean cuts.
- Tape: Using tape can help secure your bracelet while you work on it. This keeps the threads in place and makes it easier to knot without any distractions.
- Clipboard: A clipboard can serve a similar purpose as tape, providing a sturdy surface to anchor your threads. It helps maintain tension and organization as you craft.
- Measuring Tape: To ensure you cut your threads to the correct length, a measuring tape is invaluable. A good rule of thumb is to cut each piece at least four times the length of the finished bracelet.
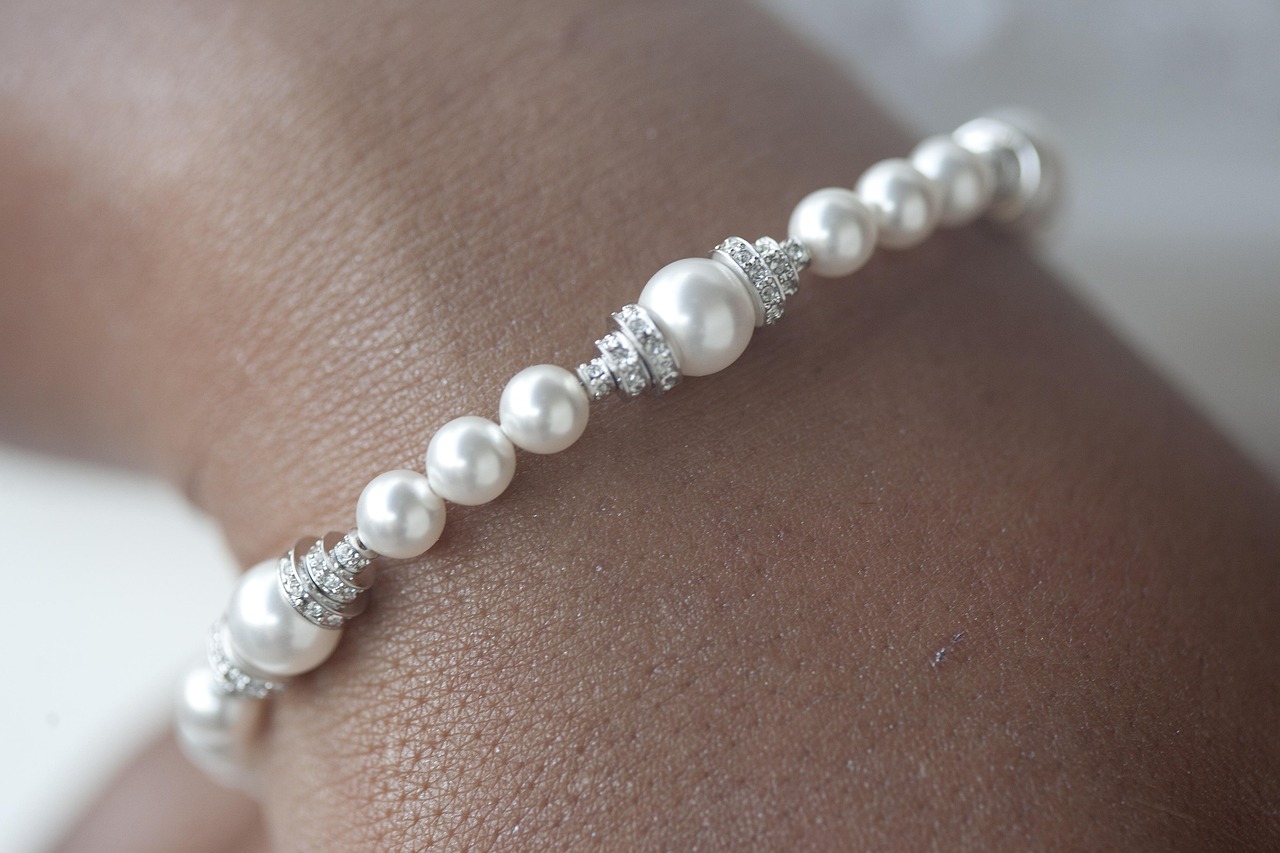
- Beads and Charms (optional): If you want to add a personal touch, consider incorporating beads or charms into your design. These elements can enhance the visual appeal and make the bracelet even more special.
By gathering these essential materials, you’ll be well-equipped to create beautiful friendship bracelets that not only look great but also carry a meaningful message of love and friendship. Remember, the best part of this craft is the time spent creating something special for someone you care about!

How to Choose Colors for Your Bracelet
Choosing the right colors for your friendship bracelet is an essential step that can significantly enhance its meaning and aesthetic appeal. The colors you select not only reflect your personal style but also embody the emotions and sentiments you wish to convey to your friend. Here, we will delve into the factors to consider when selecting colors, the meanings behind various shades, and how to create a truly personalized piece.
First and foremost, it’s important to consider your friend’s preferences. Think about their favorite colors or any specific shades that resonate with them. This thoughtful approach not only shows that you care but also ensures that the bracelet will be cherished and worn often.
Additionally, understanding the meanings associated with different colors can add depth to your creation. For example:
- Blue: Represents trust and loyalty.
- Red: Symbolizes love and passion.
- Green: Stands for growth and harmony.
- Purple: Indicates creativity and inspiration.
- Yellow: Evokes feelings of happiness and positivity.
By incorporating these meanings into your color choices, you can craft a bracelet that not only looks beautiful but also carries a significant message. For instance, a combination of blue and green could symbolize a deep friendship built on trust and growth.
Moreover, exploring popular color combinations can inspire your design. Consider using a rainbow pattern for a vibrant look or complementary colors for a more sophisticated aesthetic. The right combination can make your bracelet truly stand out.
In summary, selecting colors for your friendship bracelet is a thoughtful process that involves understanding your friend’s preferences and the meanings behind various colors. By doing so, you can create a unique piece that reflects your bond and serves as a lasting reminder of your friendship.
Understanding Color Meanings
Colors play a crucial role in our lives, influencing our emotions and perceptions. When creating friendship bracelets, the colors you choose can carry significant meaning, enhancing the emotional value of your gift. By understanding these color associations, you can craft a bracelet that not only looks beautiful but also conveys a deeper message.
- Blue: Often associated with trust and calmness, blue is a perfect choice for a friend who embodies these qualities. It symbolizes loyalty and stability, making it a great color for a long-lasting friendship.
- Red: This vibrant color represents love and passion. Incorporating red into your bracelet can signify a deep emotional connection and affection for your friend.
- Green: Green is synonymous with growth and harmony. It reflects a nurturing spirit and can symbolize the flourishing nature of your friendship.
- Yellow: A color of happiness and optimism, yellow can brighten your friend’s day. It represents joy and positivity, making it an excellent choice for a cheerful personality.
- Purple: Often linked to creativity and spirituality, purple can reflect a friend’s artistic side or a deeper emotional bond.
By selecting colors that resonate with your friend’s personality or your shared experiences, you can create a bracelet that is not only visually appealing but also rich in meaning. This thoughtful approach to color selection will undoubtedly enhance the significance of your handmade gift.
Ultimately, understanding color meanings allows you to express your feelings and strengthen your bond with your friend. Each bracelet can become a unique representation of your friendship, filled with love, trust, and cherished memories.
Popular Color Combinations
When it comes to crafting friendship bracelets, color combinations play a crucial role in creating visually appealing designs that stand out. The right mix of hues can transform a simple bracelet into a stunning piece of art, allowing you to express your creativity and personal style.
- Rainbow Patterns: One of the most beloved choices is the rainbow pattern. This vibrant combination of colors not only looks cheerful but also symbolizes diversity and inclusiveness. By using a spectrum of colors, you can create a bracelet that radiates positivity.
- Complementary Colors: Complementary colors are those that are opposite each other on the color wheel, such as blue and orange or red and green. These combinations create a striking contrast that can make your bracelet pop. Incorporating these colors can highlight specific elements of your design.
- Analogous Colors: For a more harmonious look, consider using analogous colors—those that are next to each other on the color wheel, like blue, blue-green, and green. This combination creates a soothing effect, perfect for a more subtle and elegant bracelet.
- Monochromatic Schemes: Sticking to one color but varying the shades can also be a fantastic approach. A monochromatic scheme can add depth and sophistication to your bracelet, making it visually intriguing without overwhelming the viewer.
Additionally, experimenting with different patterns and textures can enhance the overall visual appeal of your bracelet. Whether you prefer bold, bright colors or soft, muted tones, the key is to choose combinations that resonate with you and the message you wish to convey.
In conclusion, the art of combining colors is essential in bracelet-making. By exploring various combinations like rainbow patterns and complementary colors, you can create stunning pieces that not only reflect your creativity but also serve as meaningful gifts for your friends.
Using Patterns and Designs
In the world of DIY friendship bracelets, patterns and designs play a crucial role in transforming a simple piece of thread into a stunning accessory. By incorporating various patterns, you can not only enhance the visual appeal of your bracelet but also add a personal touch that reflects your style and creativity.
From simple stripes to intricate chevrons, the possibilities are endless. Each pattern tells a story and can evoke different feelings, making your bracelet more meaningful. For instance, a classic striped pattern can signify friendship and unity, while a chevron design may represent strength and resilience.
When exploring patterns, consider the following:
- Color Coordination: Pairing the right colors with your chosen pattern can elevate the overall look. Think about using contrasting colors for a bold statement or harmonious shades for a more subtle effect.
- Texture Variation: Incorporating different thread types or thicknesses can add depth to your design. Experiment with shiny, matte, or even textured threads to create a unique tactile experience.
- Mixing Patterns: Don’t hesitate to combine multiple patterns in one bracelet. A mix of stripes and dots, for example, can create a playful and eclectic vibe.
To get started with patterns, you might want to practice on a smaller scale. Create sample pieces using different designs to see what resonates with you. Remember, the key to a successful bracelet is not just in the pattern itself, but in how it reflects your personality and the bond you share with the recipient.
Ultimately, incorporating patterns into your bracelet-making process can elevate its aesthetic and make it a true representation of your creativity and friendship. So gather your materials, unleash your imagination, and start crafting!
Basic Knotting Techniques
are fundamental skills that every aspiring bracelet maker should master. These techniques not only ensure the durability of your creations but also enhance their visual appeal. Among the most essential knots are the forward knot and backward knot.
The forward knot is executed by taking the left thread and placing it over the right thread, then pulling the left thread under the right and through the loop created. This knot forms the foundation for many bracelet designs and is crucial for creating a smooth and consistent pattern. On the other hand, the backward knot is performed by reversing this process: the right thread goes over the left, then under and through the loop. Mastering these two knots allows you to create a variety of patterns and styles.
To help you visualize these techniques, here’s a simple table outlining the steps:
| Knot Type | Steps |
|---|---|
| Forward Knot |
|
| Backward Knot |
|
Practicing these knots will significantly improve your bracelet-making skills. Start with simple designs to build your confidence, and as you become more comfortable, explore more complex patterns that incorporate these basic knots. Remember, the key to a beautiful friendship bracelet lies in the precision of your knots and the creativity of your designs.
In conclusion, mastering basic knotting techniques is not just about learning how to tie threads together; it’s about laying the groundwork for beautiful, meaningful creations that you can share with friends. So grab your materials and start practicing!
Step-by-Step Guide to Making a Simple Bracelet
Creating a friendship bracelet is not only a fun activity but also a meaningful way to express your bond with friends. This step-by-step guide will walk you through the process of making a simple yet beautiful bracelet that you can cherish or gift to someone special.
Follow these easy steps to craft your own friendship bracelet:
- Gather Your Materials: You will need the following items:
- Embroidery floss (choose your favorite colors)
- Scissors
- Tape or a clipboard
- Measure and Cut Your Threads: Cut each piece of embroidery floss to about 24 inches long. A good rule of thumb is to cut each strand four times the length of the desired finished bracelet.
- Prepare Your Work Area: Secure the top of the threads with tape to a flat surface or use a clipboard to hold them in place. This will make it easier to work on your bracelet.
- Start Knotting: Take the first two threads and tie a simple knot at the top, about 1 inch from the top. This knot will serve as the starting point for your bracelet.
- Learn Basic Knotting Techniques: Familiarize yourself with the forward knot and backward knot. The forward knot is made by creating a ‘4’ shape with the working thread and the base thread, then pulling the working thread through the loop. The backward knot is the reverse.
- Continue Knotting: Alternate between the forward and backward knots to create your desired pattern. You can use two or more colors to add vibrancy to your bracelet.
- Finish Your Bracelet: Once you reach the desired length, tie a knot at the end to secure your work. Ensure the knot is tight to prevent unraveling.
- Wear or Gift Your Bracelet: You can wear your creation or gift it to a friend as a token of your friendship.
With these simple steps, you can create a beautiful friendship bracelet that symbolizes your connection. Happy crafting!
Measuring and Cutting Your Threads
is a crucial initial step in crafting your own friendship bracelets. Accurate measurements ensure that your bracelet not only looks good but also fits comfortably. To begin, gather your materials and prepare for the cutting process.
Start by determining the desired length of your finished bracelet. A common recommendation is to cut each thread at least four times the length of the finished piece. This extra length allows for knotting and ensures that you have enough material to work with, especially if you are using intricate patterns.
- For example: If your bracelet will be 7 inches long, cut each thread to at least 28 inches.
- This length can vary based on the complexity of your design and the thickness of the threads you are using.
When cutting your threads, consider the color combinations you want to use. It’s often helpful to lay out your threads in the order you plan to use them before cutting. This way, you can visualize the final product and make any necessary adjustments to your color scheme.
Once you have your threads cut, it’s a good idea to secure them to prevent tangling. You can use a small piece of tape to hold them down on a flat surface or clip them to a clipboard. This will keep your workspace organized and make the knotting process much smoother.
In summary, taking the time to measure and cut your threads properly will set a solid foundation for your bracelet-making journey. With the right lengths and colors chosen, you are now ready to move on to the next exciting steps of creating your unique friendship bracelet.
Creating the Bracelet Base
After you have carefully measured and cut your threads, the next crucial step in crafting your friendship bracelet is to tie them together. This process is not just a simple task; it is the foundation of your bracelet design and plays a significant role in ensuring its durability and aesthetic appeal.
To start, gather all your cut threads and align them neatly. It is advisable to use a clipboard or tape to secure the top of your threads to a flat surface, which will help prevent them from moving around as you work. This stability is essential, especially for beginners who may find it challenging to keep everything in place.
Once your threads are secured, you can begin tying them together. Use a simple knot, making sure to pull it tight but not so tight that it distorts the threads. The initial knot is vital as it will hold the rest of your work in place and provide a solid base for the intricate designs that will follow.
As you tie your threads, consider the color arrangement you have chosen. The way you position the colors can greatly influence the overall look of your bracelet. For example, you might want to create a gradient effect or alternate colors for a more playful design. This step allows you to express your creativity and make a piece that is truly unique.
After securing the base, take a moment to ensure that all threads are even and aligned. This attention to detail will pay off in the final product, giving your bracelet a polished and professional appearance. Remember, the base is where your bracelet begins to take shape, so investing time in this step is crucial for a successful outcome.
In summary, creating the bracelet base is an essential aspect of friendship bracelet crafting. By tying your threads securely and thoughtfully, you set the stage for a beautiful piece that reflects your bond with your friend. Enjoy the process and let your creativity flow!
Advanced Techniques for Experienced Crafters
As you become more proficient in bracelet-making, exploring advanced techniques can significantly enhance the beauty and complexity of your creations. Techniques such as the chevron pattern and the spiral knot not only add flair but also challenge your skills, allowing for greater creativity and personalization.
Mastering the Chevron Pattern
The chevron pattern is a classic design that creates a striking visual effect. To master this technique, start by arranging your threads in the desired color order. Use the forward knot to create the left side of the chevron, then switch to the backward knot for the right side. This method requires precision, so take your time to ensure each knot is tight and consistent. The result is a beautifully symmetrical pattern that stands out.
Exploring the Spiral Knot
The spiral knot technique offers a unique twist to traditional bracelet designs. This method involves alternating between forward and backward knots without breaking the sequence. As you continue this pattern, the bracelet will naturally twist into a spiral shape. This technique is perfect for creating dynamic and eye-catching accessories that are sure to impress.
Incorporating Beads and Charms
Another way to elevate your bracelet-making skills is by integrating beads and charms. These elements can be added at various stages of your knotting process. For instance, you can slide a bead onto the thread before tying a knot, or attach charms at the end of your bracelet for added flair. This personalization not only enhances the visual appeal but also makes each piece unique and meaningful.
Practice and Patience
As with any craft, practice is essential. Don’t be discouraged by initial challenges; each attempt will improve your skills. Take your time to experiment with different patterns and designs, and soon you’ll be able to create stunning bracelets that showcase your advanced techniques.
In conclusion, mastering advanced techniques like the chevron pattern and spiral knot can transform your bracelet-making experience. By incorporating beads and charms, you can create personalized pieces that reflect your creativity and style.
Exploring the Chevron Pattern
The chevron pattern is not just a trendy design; it is a classic choice that brings a sense of movement and energy to your friendship bracelets. This zigzag pattern creates a visually striking effect, making your bracelet stand out. In this section, we will delve into how to execute this design with precision, ensuring a professional finish that will impress your friends.
To start, you will need to gather your materials. The basic items include:
- Embroidery floss in your chosen colors
- Scissors
- A clipboard or tape to secure your work
Once you have your materials ready, the first step is to measure and cut your threads. A good rule of thumb is to cut each strand at least four times the length of the desired finished bracelet. This will give you enough length to work with and ensure a comfortable fit.
Next, you will want to arrange your threads in the order you wish to create your chevron pattern. The arrangement is crucial, as it determines how your colors will flow and interact throughout the design. A common approach is to use two contrasting colors for a bold effect or multiple colors for a more vibrant look.
To begin creating the chevron, you will utilize the basic knotting techniques you’ve learned. Start by forming a forward knot with the outermost thread over the next thread, then pull tight. Repeat this process across your threads, ensuring that each knot is uniform in size for a polished appearance. As you progress, you will notice the chevron shape starting to form.
Pay careful attention to tension; keeping your knots tight but not overly so will help maintain an even pattern throughout your bracelet. Once you reach the desired length, tie off your threads securely, and you will have a stunning chevron bracelet that showcases your crafting skills.
Incorporating the chevron pattern into your bracelet-making repertoire not only enhances your crafting abilities but also allows you to create unique, personalized gifts for your friends. With practice, you can even experiment with variations of the chevron design, such as using different colors for each zigzag or combining it with other patterns.
In conclusion, the chevron pattern is a delightful way to elevate your friendship bracelet-making. By following these steps and practicing the techniques, you can achieve a professional finish that reflects your creativity and dedication.
Incorporating Beads and Charms
into your friendship bracelets can transform a simple design into a personalized masterpiece. These decorative elements not only enhance the visual appeal of your bracelet but also carry significant meaning, making each piece truly unique.
To start, select beads and charms that resonate with your friendship. Consider using colors that represent shared memories or symbols that hold special significance. For instance, a charm shaped like a heart can symbolize love and affection, while a bead in your friend’s favorite color can reflect their personality.
When integrating these elements into your design, plan your layout carefully. You can choose to place beads at regular intervals or cluster them together for a more eclectic look. Here are some tips to help you achieve a seamless integration:
- Choose the Right Size: Ensure that the beads and charms are proportionate to the bracelet’s overall size. Larger beads can serve as focal points, while smaller ones can accentuate the design.
- Use Strong Thread: When adding heavier charms, use a sturdy thread to ensure durability. Consider using a nylon or polyester thread that can withstand the weight of the beads.
- Secure with Knots: To prevent beads from sliding out of place, tie knots on either side of each bead after threading it. This will keep your design intact and maintain its intended look.
Additionally, you can create patterns with your beads. For example, alternating colors or arranging them in a specific sequence can add a dynamic flair to your bracelet. Experiment with different combinations until you find a design that feels right.
In conclusion, incorporating beads and charms into your friendship bracelets is a wonderful way to express your creativity and deepen the meaning behind your gift. By thoughtfully selecting and arranging these elements, you can craft a bracelet that not only looks beautiful but also tells a story about your friendship.

Tips for Gift-Wrapping Your Bracelets
Creating a friendship bracelet is just the beginning of a thoughtful gift. The way you present your handmade creation can significantly enhance its impact and make the moment even more special for your friend. Here are some tips to elevate your gift-wrapping game:
- Choose the Right Packaging: Selecting packaging that complements the colors and style of your bracelet is crucial. Consider using:
- Decorative Boxes: A beautifully designed box can add an elegant touch.
- Organza Bags: These lightweight bags offer a charming and delicate presentation.
- Handmade Paper: Crafting your own wrapping paper can add a personal flair.
- Incorporate Natural Elements: Adding elements like dried flowers, twine, or leaves can create a rustic and warm aesthetic.
- Use Colorful Ribbons: Tying your package with a vibrant ribbon can make it visually appealing. Experiment with different textures and widths to find the perfect match.
- Add a Personal Touch: Including a heartfelt note or card can convey your feelings. A few sincere words expressing your friendship can make the gift even more meaningful.
Remember, the presentation of your gift is just as important as the gift itself. Thoughtful wrapping shows your friend that you care and have put effort into making their gift special. By paying attention to these details, you can turn a simple bracelet into a memorable surprise that they will cherish.
Conclusion: Thoughtful gift-wrapping is an art that enhances the joy of giving. Take the time to wrap your friendship bracelet beautifully, and you’ll create a delightful experience for your friend that goes beyond the bracelet itself.
Choosing the Right Packaging
When it comes to gifting handmade friendship bracelets, the presentation matters just as much as the gift itself. Choosing the right packaging can significantly enhance the overall experience for the recipient. Here are some creative ideas to consider:
- Simple Boxes: Opt for elegant, simple boxes that can be easily decorated to match the bracelet’s colors. A well-chosen box not only protects the bracelet but also adds a touch of sophistication.
- Organza Bags: These lightweight and sheer bags are perfect for a more casual yet chic presentation. They come in various colors, allowing you to select one that complements the hues of your bracelet.
- Handmade Paper: Wrapping your bracelet in handmade paper can give it a rustic and personal touch. Consider using paper with unique textures or patterns to make the package stand out.
- Custom Labels: Enhance your packaging with custom labels that include the name of the recipient or a special message. This small addition can make the gift feel even more personal.
Additionally, think about the color scheme of your packaging. Using colors that complement the bracelet not only creates a cohesive look but also reflects the thoughtfulness behind your gift. Incorporating elements like ribbons or decorative twine can further elevate the presentation.
In conclusion, the right packaging can transform a simple friendship bracelet into a cherished gift. By choosing materials that enhance the bracelet’s colors and style, you create an unforgettable gifting experience that your friend will appreciate.
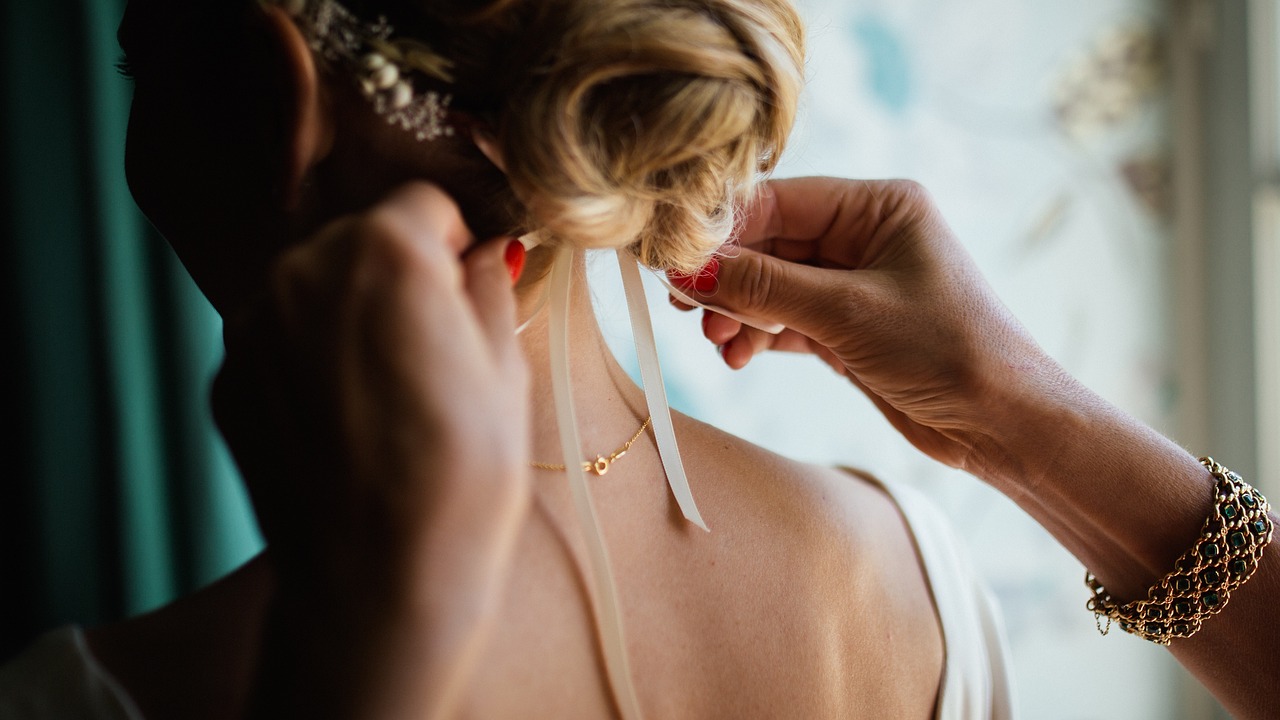
Adding a Personal Note
When gifting a friendship bracelet, the act of including a personal note can significantly enhance the emotional value of your present. This simple addition allows you to express your feelings and convey the depth of your friendship in a way that transcends the physical gift itself.
A heartfelt note serves as a powerful reminder of the bond you share. It can be a few lines expressing your appreciation, a cherished memory, or a quote that resonates with your friendship. The key is to be sincere; your words should reflect your true feelings and intentions.
- Express Gratitude: Thank your friend for being a part of your life and for the moments you’ve shared.
- Share a Memory: Recall a special moment that highlights your friendship, making the note more personal.
- Encourage Them: Offer words of encouragement, reminding them that you are always there for support.
Furthermore, the note can serve as a lasting keepsake. Friends often cherish these messages, keeping them as a reminder of your bond. Over time, they may look back at your words and feel a sense of warmth and nostalgia, reinforcing your connection.
In conclusion, a personal note is not just an accessory to your gift; it is an integral part of the experience. By taking the time to write a few thoughtful words, you can transform a simple bracelet into a meaningful treasure that embodies your friendship. This small gesture can make the gift truly unforgettable, ensuring that it holds a special place in your friend’s heart for years to come.
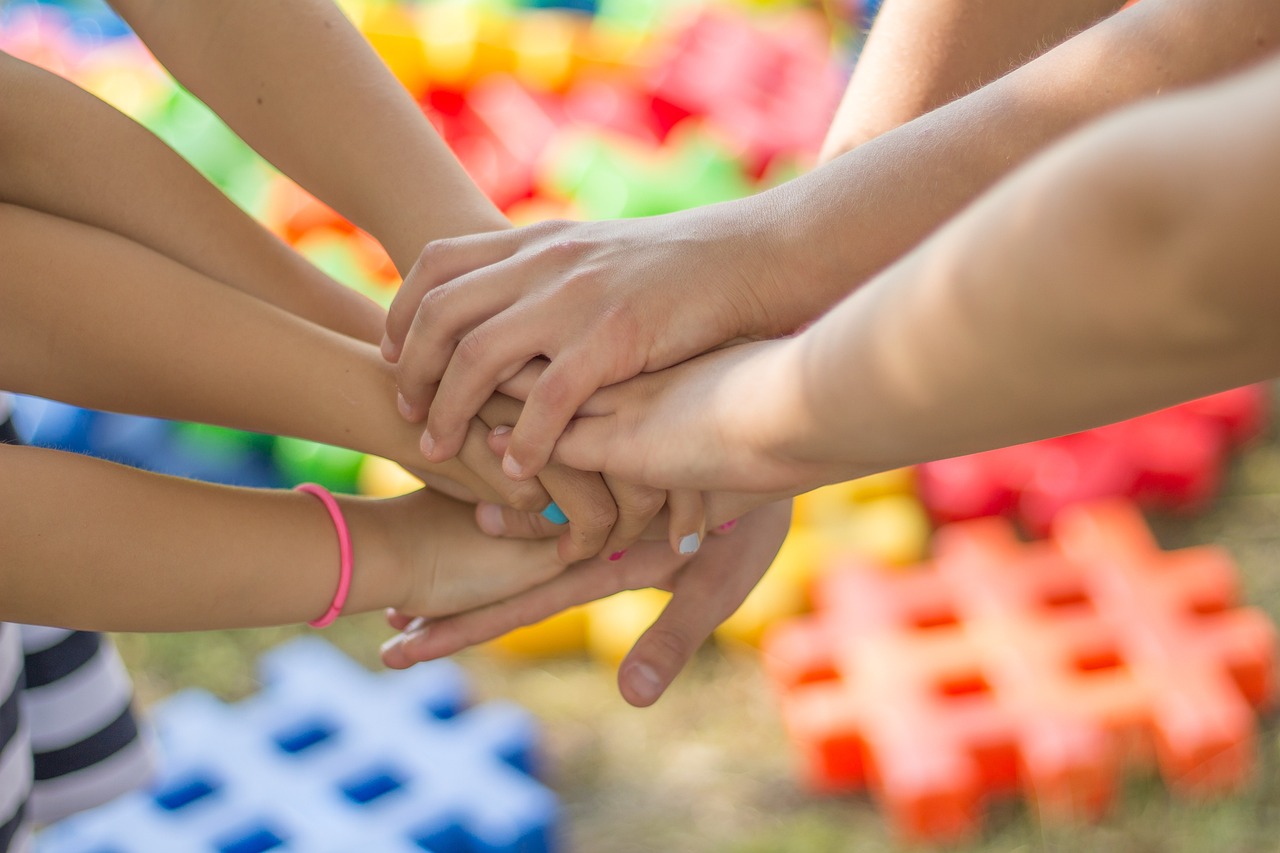
Conclusion: The Joy of Making Friendship Bracelets
Creating friendship bracelets is not just a craft; it is a celebration of creativity and a way to strengthen the bonds of friendship. This delightful activity allows individuals to express their artistic side while making something truly special for their friends. Each bracelet carries a personal touch, reflecting the unique relationship shared between friends.
Engaging in this craft can be a therapeutic experience, providing a sense of accomplishment as you see your design come to life. The process of selecting colors, patterns, and materials can ignite your imagination and inspire you to create something beautiful. Whether you are a beginner or an experienced crafter, the joy of making friendship bracelets is universally appealing.
Moreover, these handmade accessories serve as heartfelt gifts that your friends will cherish for years to come. When you gift a bracelet, you are not just giving an accessory; you are offering a piece of your heart, a symbol of your friendship, and a reminder of the special moments you share. This personal connection makes the act of creating and giving friendship bracelets even more meaningful.
Additionally, making friendship bracelets can be a great bonding activity to share with friends or family. Gather your loved ones for a crafting session where you can share ideas, learn new techniques, and enjoy each other’s company. This collaborative effort not only enhances the crafting experience but also strengthens relationships.
In conclusion, the joy of making friendship bracelets lies in the combination of creativity, personal expression, and the deep connections they foster. It’s a craft that transcends age and skill level, making it a perfect activity for anyone looking to create lasting memories and heartfelt gifts.
Frequently Asked Questions
- What materials do I need to make friendship bracelets?
To get started with friendship bracelets, you’ll need some basic materials. Common items include embroidery floss, scissors, and tape. A clipboard can also be handy to keep your threads secure while you craft.
- How do I choose the right colors for my bracelet?
Selecting colors is a fun part of the process! Think about your friend’s favorite colors or the meanings behind different hues. For instance, blue symbolizes trust while red represents love. Mixing and matching can make your bracelet truly special!
- Can I add beads or charms to my bracelet?
Absolutely! Adding beads or charms can personalize your bracelet even more. Just make sure to integrate them into your design seamlessly for that extra touch of flair that showcases your friendship.
- What are some tips for gift-wrapping my bracelet?
When it comes to wrapping your bracelet, think about packaging that matches its style! Simple boxes or organza bags work great. Don’t forget to include a heartfelt note; it makes the gift even more meaningful!


